Setting Up Multi-Factor Authentication (MFA)
Multi-Factor Authentication (MFA) adds an extra layer of security to your account by requiring a verification code in addition to your password when signing in.
This helps protect your account from unauthorized access.
What You Need
To set up MFA, you will need an authentication app on your phone.
Common options include:
• Microsoft Authenticator
• Google Authenticator
• Authy
• 1Password
These apps generate secure one-time login codes.
How to Enable MFA
Log into the Account Admin Portal. Instructions on how to do this can be found here:
Accessing the Admin Account PortalOnce at the Account Admin Portal Dashboard, select the 'Connection & Security' module.
Below the Change Password section, you will see the 'Two-factor authentication' setup. Select Enable Multi-Factor Authentication.

A QR code will appear on the screen.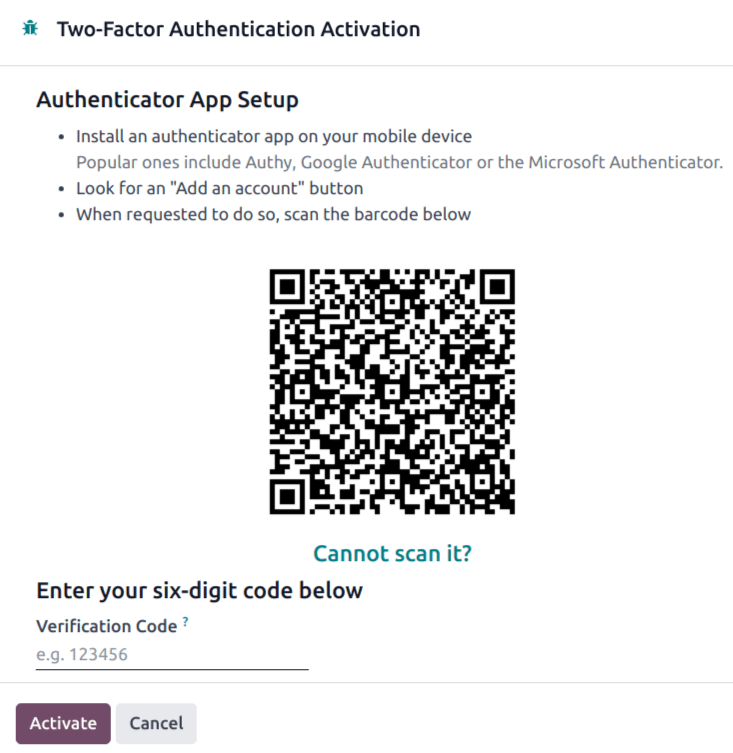
Connect Your Authenticator App
Open your authenticator app.
Choose Add Account.
Scan the QR code displayed in the portal.
Your authenticator app will begin generating verification codes.
Confirm Setup
Enter the verification code from your authenticator app.
Click Confirm.
MFA will now be enabled on your account.
Logging In After MFA Is Enabled
When you sign in:
Enter your email address and password.
You will be prompted for a verification code.
Open your authenticator app and enter the current 6-digit code.
You will then be logged in to the Account Admin Portal.
If You Lose Access to Your Authenticator App
If you lose access to your authentication device:
Contact support for assistance.
We will verify your identity and help reset your MFA settings.
For security reasons, MFA cannot be bypassed without verification.
Tips for Using MFA
• Keep your authentication app installed on your device.
• Do not share your verification codes with anyone.
• Consider backing up your authenticator app if your device supports it.